This article shows the steps for downloading the Mediasite Capture App to your computer. The Capture App can be installed on KU or personal machines. If you are unable to install the Capture App, please contact helpcenter@kutztown.edu.
Getting Mediasite Mosaic (Personal Devices)
Mediasite Mosaic may be downloaded for use on personal devices. The desktop app offers the same functionality as Mediasite's web recorder, and can additionally be used to save recordings locally.
Downloading
- Mediasite Mosaic can be downloaded directly via Download Capture App - My Mediasite.
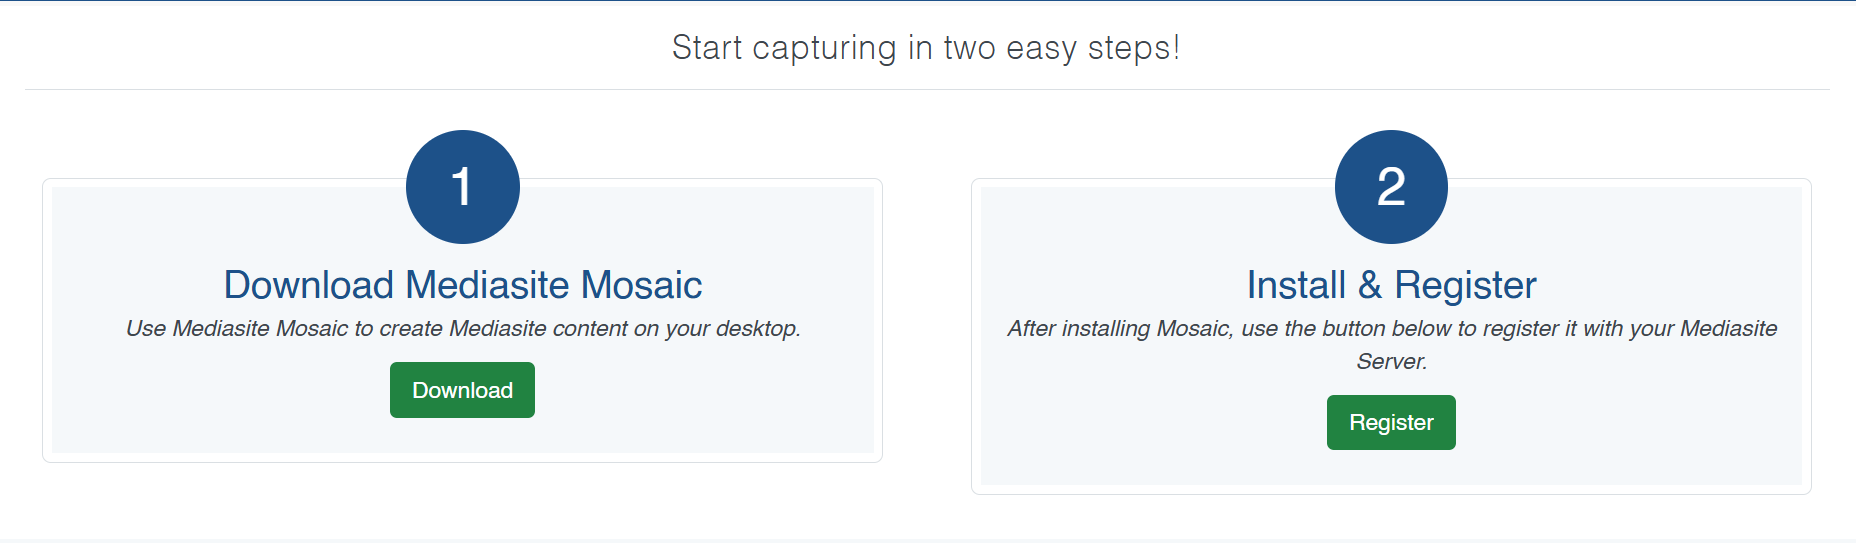
- Click the Download button.
- Save the installation file to your computer and open it.
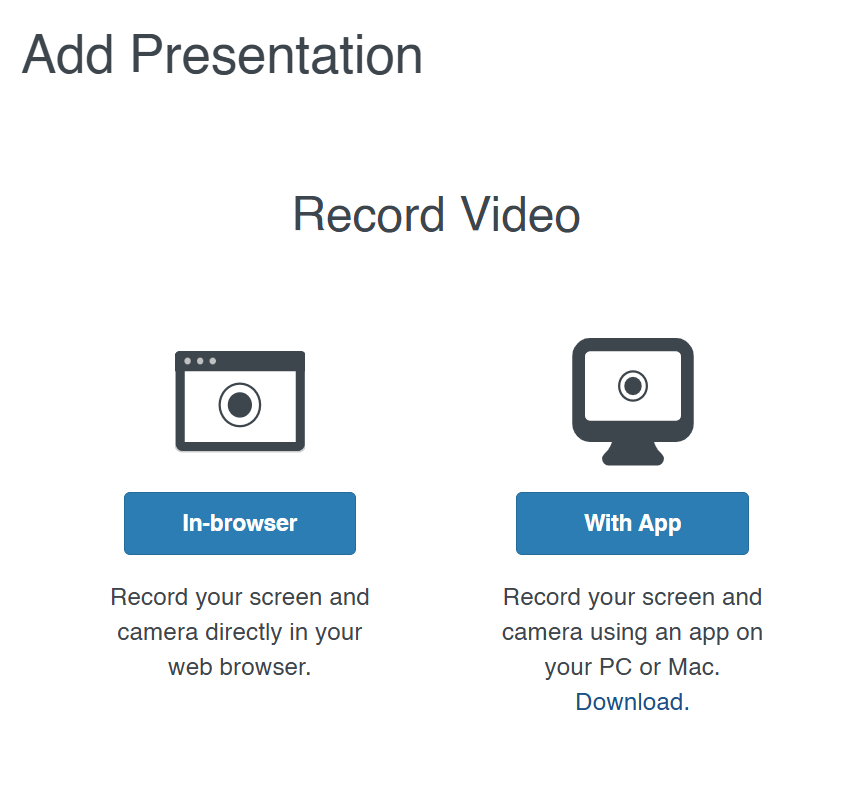
Alternatively, you can navigate to MyMediasite and start creating a new presentation. When prompted, select the option to create a new video With App. If Mediasite Mosaic is already installed, it will be launched automatically. If it is not installed, an installer will be downloaded.
Installing
- Run the installer, following the on-screen prompts.
- The program will install with the name Mediasite Mosaic.
Linking with MyMediasite
This important step associates the Mediasite Mosaic recorder to your account and allows for recorders to automatically be uploaded for use with MyMediasite and D2L.
- After the program has successfully installed, return to the download webpage and click the Register button. A launch application window will appear asking you to open the link in the Mediasite Capture App. Open the link and follow the onscreen directions.
- Alternatively, open the Mediasite Mosaic app and click Connect to Mediasite in the top right corner. When prompted, enter the URL for Kutztown's Mediasite instance, https://kupmediasite.passhe.edu.
- Either method should ask you to log in via KU Single Sign-On. Once signed on, Mediasite Mosaic will upload completed presentations to MyMediasite.
Using Mediasite Mosaic
After launching Mediasite Mosaic and connecting it to your account, you can use the top ribbon to configure the presentation and the controls along the bottom of the screen to start recording.
- Capture is the main recording interface within Mediasite Mosaic. It should display icons allowing you to select a Microphone, Camera, and Screen Capture window before recording. The record and stop buttons at the bottom of the screen control recording.
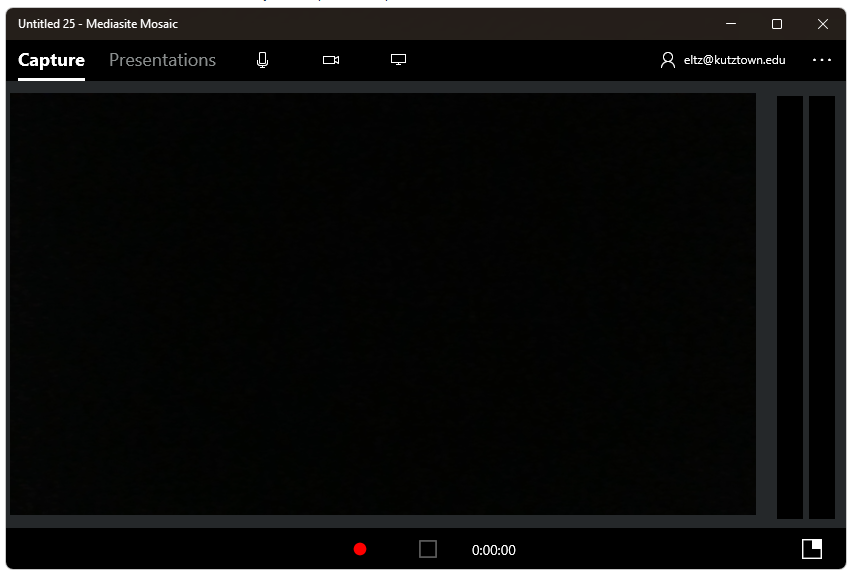
- Presentations allows you to view presentations previously created using Mediasite Mosaic. It should display a library icon to open or close the presentations browser.
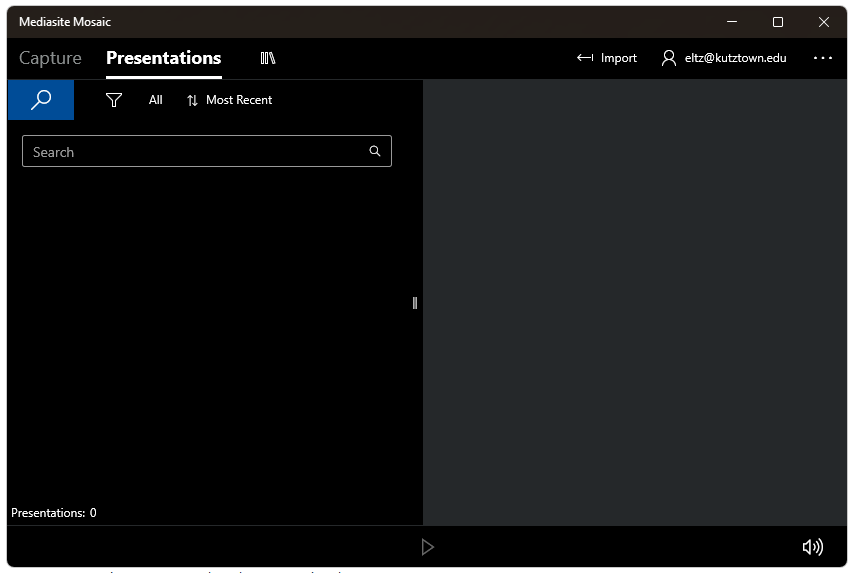
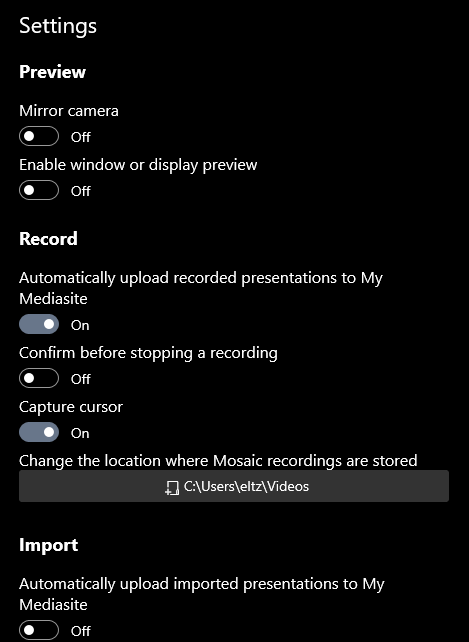
- The ... icon in the top corner allows you to view information about the application and change settings, including the saved location for recorded presentations.