A checklist allows instructors to highlight important or required assignments, readings, or other items for students to complete.
Creating a New Checklist
Navigate to the Checklist tool by clicking "Resources > Checklist" in the navigation menu.
Click the “New Checklist" button.

Enter a name and description (optional) for the Checklist.

Determine if you wish for the Checklist to open in a new window or in the existing window. Then click “Save.”

The checklist structure will be created. To start adding tasks, scroll down to Categories and Items.
Categories and Items
Click the “New Category” button to setup the first category. Categories are like sections for the checklist. Examples: Readings, Quizzes, Assignments.

Enter a name and description (optional) for the category. To create another category, click “Save and New.” Otherwise, click “Save” to return to the checklist setup.

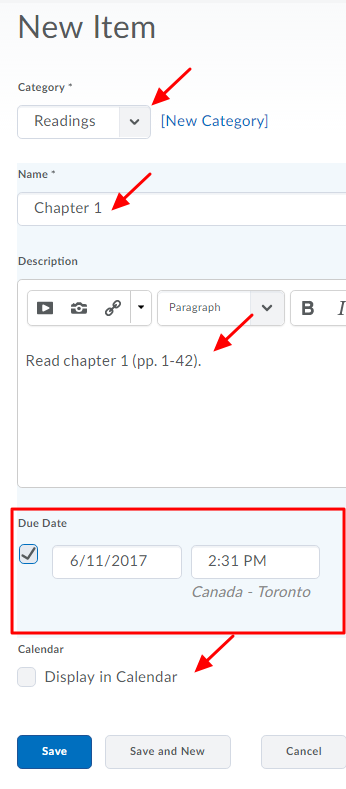
Click “New Item” to set up your first item. Items are the actual tasks that students need to complete. Examples: Read Chapter 1, Take Quiz 1, Submit Assignment 1.

Select a category for the item and enter a name and description (optional) for the item.
If desired, set a due date using the calendar and time menus. Also determine if you’d like for the item to appear in the course calendar.
To create a new item, click “Save and New.” Otherwise, click “Save” to return to the checklist.
Student View
Checklists are intended for students to track their progress in a course or on an assignment. Instructors can see how many items on a Checklist have been completed for individual students with the Class Progress tool, but they cannot drill down to see the individual items completed.
