The best way to have a tagged PDF is to ensure it is properly formatted in the original software (such as MS Word) and export to a PDF with the options to keep all accessibility features intact. Adobe Acrobat can also autotag a PDF for you. Learn how to autotag a PDF. There are several ways to tag a PDF manually if you need to correct autotagging issues.
Using the Reading Order Tool
In some cases, autotagging will not produce accurate results. Some tags will be used incorrectly or autotagging may fail to tag all content. You will then need to correct the tags or manually add a tag for missing content. View the video below to see how to manually tag a PDF using the Reading Order tool.
Manually Tagging Text
The Reading Order tool may not work if the PDF has been previously tagged or autotagged, so you may need to add tags a different way. To do this:
- Open the Accessibility Tags panel. If it shows "No Tags available," right-click on it and select "Create Tags Root."
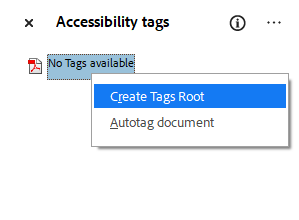
- Once the Tags root has been created, right-click on the "Tags" icon and select "New tag."

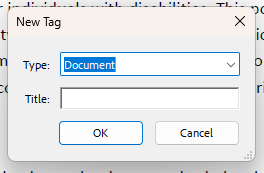
- In the "New Tag" window that appears, select "Document" for Type and press "OK." This will create the root <Document> tag needed for all PDFs as all tags must be nested in this tag.
Your tag tree should now look like this: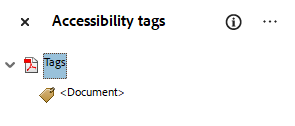
- In the PDF, highlight the text you want to tag.

- In the tags panel, with the text you want to tag still highlighted, right-click on "Tags" and select "Create Tag from Selection.

- In the "New Tag" window, select the appropriate tag for your highlighted text and select "OK." In this example case, a P tag was selected. The tags panel should display the new tag with the highlighted content.

- All tags must be nested under the <Document> tag, so drag and drop your new tag under the <Document> tag.

- Continue tagging all the text content within your PDF.